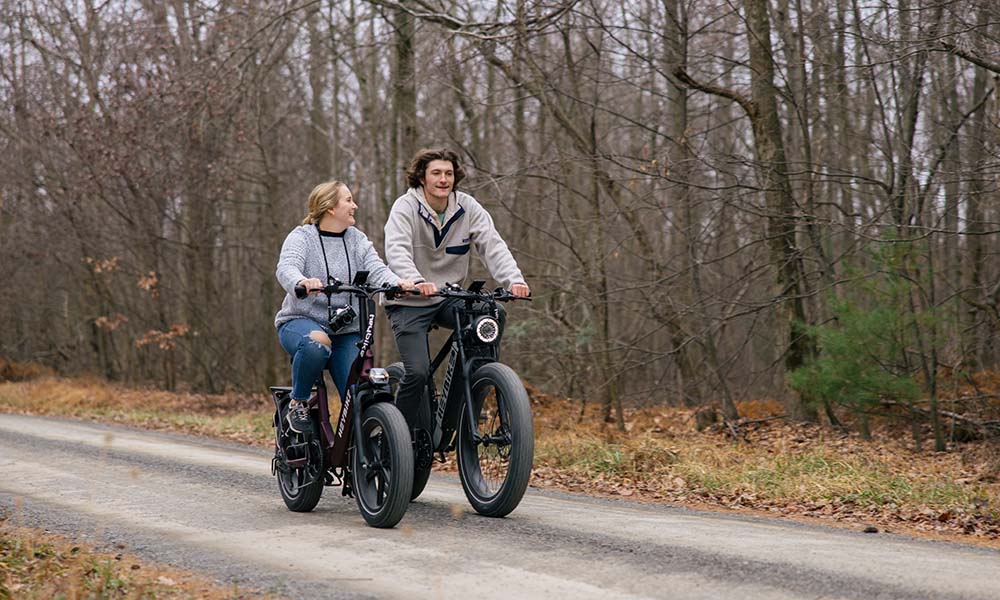
One of the easiest and most important changes you can make to your bike is to adjust to the correct tire pressure.
With the right tools and knowledge, you can easily adjust your tire pressure to a level that is suitable for your weight, rider position, and terrain. It might take some trial and error, even with the facts in front of you, but the result will be a safer and more comfortable ride, so the effort is worthwhile.
In this article, we discuss the basics of bike tire pressure and what to consider when adjusting your tire pressure.
The Basics of Bike Tire Pressure
First, let us cover the anatomy of a bike tire. The air inside your bike tire is pressurized in an airtight chamber. To measure the amount of pressurized air in a tire, we use a unit called pounds per square inch (PSI). The higher the PSI, the harder and firmer the tire. The lower the PSI, the softer the tire.
Before you can adjust the tire pressure on your bike, you need a bike pump. For most riders, a simple hand pump with an analog or digital reader will suffice. As you adjust the tire pressure, the pump will show you how much air pressure is in there. Keep in mind that few bike pumps are 100% accurate, as they typically measure the pressure of the pump and not the tire, so you may have to judge by “feel” as well as by the bike pump reading.
There are many factors that influence the amount of PSI you should have in your bike tires. The four most important are rider weight, rider position, terrain type, and tire width. To help give you an idea of the average tire pressure for different bikes, use this table as a reference.
|
Bike Type |
Tire Width |
Front Tire (PSI) |
Back Tire (PSI) |
|
Road Bikes |
28mm (1.2”) |
80 – 90 |
90 – 100 |
|
Mountain Bikes |
65mm (2.5”) |
35 – 40 |
40 – 45 |
|
Gravel Bikes |
101mm (4”) |
20 – 25 |
25 – 30 |
*The calculations in this table are general in nature, so you may need to adjust your tire pressure to suit your individual circumstances.
Road Bikes
Road bikes are primarily used on flat terrain including roads, bike lanes, and well-maintained pathways. The average tire width on a road bike is 23 – 28mm (0.9” – 1.2”). They typically have a low or very low tread depth, which is suitable for riding over small debris and water.
Recommended road bike tire pressure: 70 – 100 PSI
Mountain Bikes
Mountain bikes are primarily used on flat and off-road terrain including roads, pathways, bike lanes, bike trails, and loose gravel. The average tire width on a mountain bike is 53 – 71mm (2.1 – 2.8”). They typically have a medium tread depth, which is suitable for riding over medium-density debris and water.
Recommended mountain bike tire pressure: 30 – 45 PSI
Gravel Bikes
Gravel bikes are primarily used on off-road terrain including bike trails, loose gravel, sand, mud, and wet surfaces. The average tire width on a gravel bike is 63 – 101mm (2.5 – 4”). They typically have a mixed high/medium/low tread depth, which is suitable for riding of dense debris and water.
Recommended gravel bike tire pressure: 17 – 30 PSI
Read more: Guide to All-Terrain Electric Bikes
Key Considerations for Tire PSI
Below are five key factors to consider when adjusting your bike tire pressure.
Tire Width
The wider the tire, the less pressure it needs, and vice-versa for narrower tires. The reason why is simple: wide tires cover more surface area (volume) than narrow tires, so they require less pressure to rest against the rim. So, if you were to go from a 2.5” tire to a 2.8” tire, then you could reduce the amount of pressure by about 10 – 15%.
Rider Weight and Position
It’s no secret that the more weight you add to a bicycle, the more pressure it will apply to the tires. To compensate for this, the heavier the rider is, the more pressure a tire will need. While there is no exact calculation, you may need to add or subtract about 2 PSI for every 5kg of weight difference. In terms of fat tire electric bikes for heavy riders, the style of frame can also influence the recommended PSI.
Consider the rider position as well. Riders who sit upright apply about 70 to 80% of their weight to the rear tire, so it’s worth adding extra PSI to the rear tire. The same goes for mountain bike riders who stand upright on the pedals as they ride over debris and navigate technical trails. However, riders who assume a more aggressive, forward-leaning position (common for road bike riders) can have similar PSI levels for both tires.
Tubeless System
Tubeless tires do not have an inner tube. To form an airtight seal, the valves connect directly to the rim of the wheel (as opposed to an inner tube), which is sealed with liquid sealant. For this reason, tubeless tires can run at a lower PSI than standard inner-tube tires.
Terrain
What you ride on has a huge impact on the optimal bike tire pressure. For roads and pathways, set the PSI a bit lower than the maximum recommended manufacturer settings, as even the flattest terrain is never “truly” smooth.
For off-road terrain like gravel, achieving the ideal PSI is a bit harder. Some trial and error may be necessary. Start with a moderately high tire pressure, albeit lower than what you would have on the road, and ride for a few minutes. You should feel like you are nearly “absorbing” each bump. But not to the point where the rim is too close to the ground, and not so high that you are “bouncing” off the debris. Adjust accordingly until you strike the right balance.
Weather and Temperature
In wet weather, lower your pressure by 2 – 3 PSI compared to your usual amount in dry weather. Avoid lowering the pressure by too much, or else you may increase the risk of punctures and slipping on wet surfaces.
Temperature has a strong impact on air pressure, so be aware of the ambient temperature when adjusting your tire pressure. If you adjust your tire pressure in a warm setting (90 °F or 32 °C) and then ride in cold weather (50 °F or 10 °C), you can expect to lose about 4-5 PSI, and vice-versa for an opposite scenario.
Read more: Can Electric Bikes Be Used for Winter Commuting in Canada?
How to Check Bike Tire Pressure With a Gauge
To check your tire pressure with a bike pump (or gauge), place the bike in an upright position. Unscrew the front or rear tire cap, then insert the nozzle of the bike pump into the exposed valve. You may need to pump the bike tire once before it will give you a reading. Repeat for the other tire.
Bike Pump Options
The two main types of bike pumps are floor and portable pumps. Let’s quickly cover the differences between the two.
Floor Pump
A floor bike pump sits in a vertical, upright position. The gauge and footrest are typically on the base of the pump, while the handlebars for the pumping mechanism rest on top. By resting your foot on the base of the pump, you can confidently pump air into your tires while keeping the device upright and ready.
Portable Pump
A portable bike pump is smaller and easier to carry than a floor pump. Instead of pumping air into your tires with both hands resting on the handlebars, you insert the tip of the portable pump into the bike tire. You then pump air into the tire using a horizontal sliding motion, where one hand holds the pump while the other does the pumping.
Achieve the Ideal Tire Pressure
Maintaining the tire pressure on your bike is one of the best ways to stay safe. Ideally, you should check your tire pressure at least once a week, or more often if you ride daily. You should also re-check your tire pressure if there is a sudden change in weather, or if you plan to ride on terrain that is rougher or smoother than usual.
Follow these steps, and you will have a safer and more enjoyable riding experience!
Share:
How to Choose the Perfect Long Range Electric Bike
4 Best 750-Watt Electric Bikes for Adults in Canada